
Check out how I created Jack O’Lantern Flower Pots! An Alternative To Using a Pumpkin for Halloween! I went to Home Depot the other day and saw orange self watering flower pots. Since I was in an Autumn state of mind, I realized that these looked very similar to fake pumpkins. Of course I took it one […]
Michaels #PassportToImagination Classes! 2 Hour Summer Activities For Only $2.00!
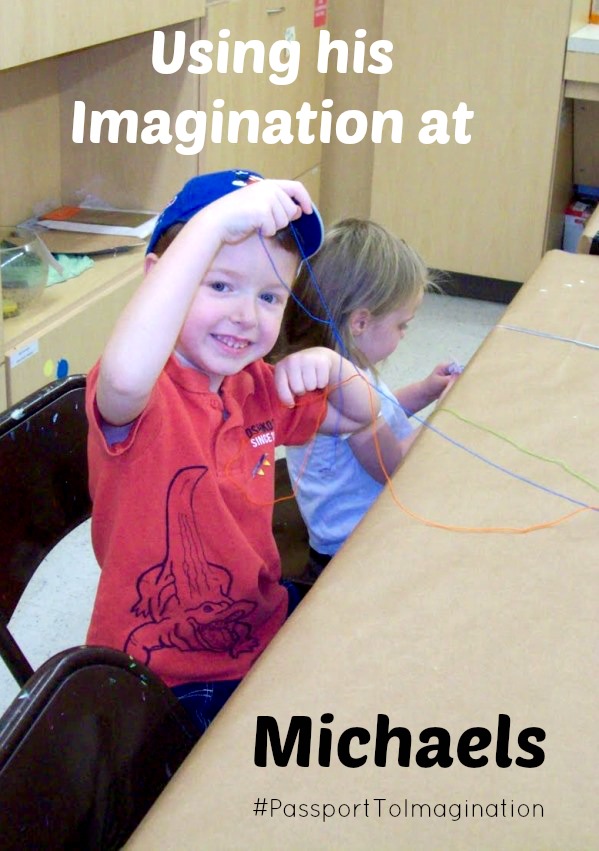
The following is a sponsored post on behalf of Michael’s Passport To Imagination Classes. Opinions expressed are that of my own. One of the activities I have used to keep my kiddos entertained during summers past, is the Passport To Imagination programs offered at Michaels Stores. Michaels kids programs are a great way to encourage Hand Eye Coordination and Brain Stimulation, […]
Tickety Toc “The Unstoppable, Unpoppable Bubble” DVD Tea Party and Giveaway!
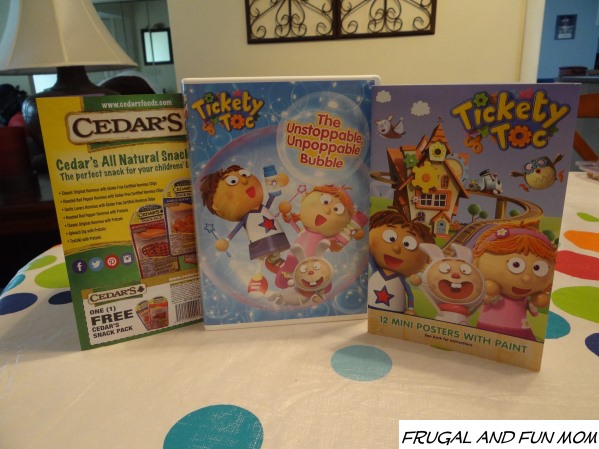
The following is a sponsored post on behalf of Tickety Toc and “The Unstoppable, Unpoppable Bubble” DVD. I was provided a DVD for review, plus complimentary Cedar’s Foods. Opinions expressed are that of my own. Last week my daughter and I had a Tickety Toc Tea Party to view and celebrate the release of the newest […]
Swap.com, Online Consignment With High-Quality Kids Items! Enter For Chance To Win A $25 Gift Card!

The following is a sponsored post on behalf of Swap.com. I was also provided a shopping credit to facilitate this post, opinions expressed are that of my own. Recently I asked by Swap.com to shop and evaluate their website and goods here on Frugal and Fun Mom. They gave me a credit to shop their site, and I in […]
Inexpensive and Easy Dessert Shortcuts Made With R.M. Palmer Halloween Chocolate Candy!

I was provided information and free R.M. Palmer Halloween candy to inspire my creations and facilitate this post. Opinions expressed are that of my own. Even though I love to be crafty and enjoy make goodies from scratch, I don’t always have the time nor the budget to create elaborate desserts at home. Thanks to the R.M. Palmer Company, I […]