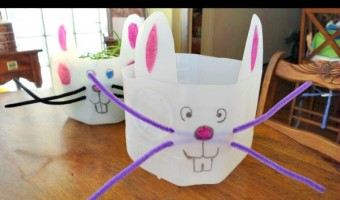
Easter is right around the corner and it is always fun to do crafts with the kids according to the season. After looking at the supplies I had on hand, I decided we would work on a milk jug upcycling craft. My daughter and I ended up transforming our containers into an Milk Jug Easter […]
Homemade White Chocolate Covered Dried Cranberries! An Easy Heart Shaped Candy Dessert!
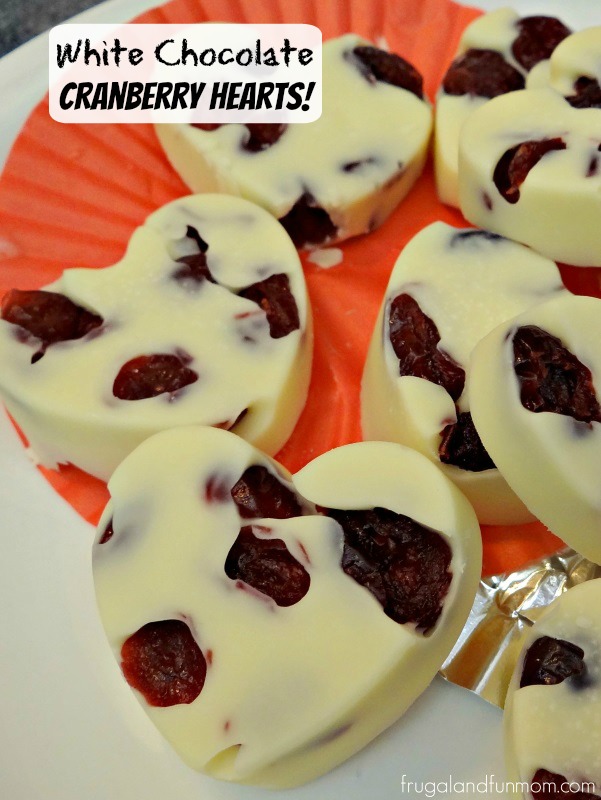
If you are wanting to give your SWEET HEART a Homemade Dessert this year, here is an easy DIY candy. I happened to pick up Craisins Buy One Get One Free and was excited to put them to good use in a yummy recipe. I had seen heart molds at Walmart and thought why not combine […]
DIY Nursing Covers! Make One In Less Than 10 Minutes, and Use What You Already Have!
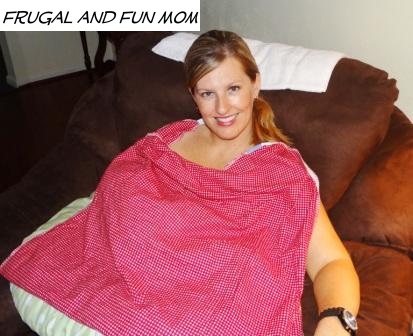
I thought I would share since this is really simple and easy to do, plus they have come in real handy. I figured I probably saved myself $60 so far. I have never been fortunate enough to be able to breastfeed any of my kids, until recently with baby #3. Since I anticipated that I […]
My 4 Chairs Got a Quick Makeover with Fabric And I Only Spent $9.00! DIY Frugal Living Idea!
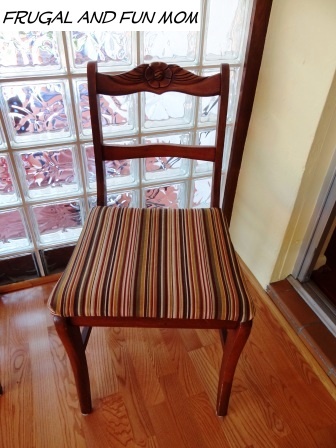
I have a set of 4 chairs that are family heirlooms which were handed down to me by my Mom 10 or so years ago. These were the same chairs that we used at our dining room table when I was a little girl. Every so often, my Mom would remove the covers on the seats […]
Do It Yourself Spa Night! A Frugal and Fun Activity!
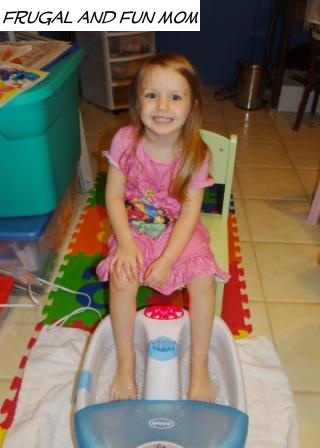
Want to plan a Do It Yourself Spa Night? Since the baby will be here soon, I figure if any pampering is going to be done, it better be done now. I said to the kids, why don’t we have a spa night? Of course, they thought it was a neat idea and were totally on […]